“Discover the mouthwatering delight of ‘Poor Man’s Brisket’ – a savory and budget-friendly alternative to traditional brisket. This delectable dish packs all the flavor and tenderness you crave, without breaking the bank. Get ready to indulge in a truly satisfying culinary experience that won’t disappoint your taste buds or your wallet!”
Smoked Chuck Roast Recipe: The Poor Man’s Brisket
Smoking a chuck roast, also known as the Poor Man’s Brisket, is a more affordable and convenient alternative to smoking brisket. By following the same techniques used for brisket, such as using the same rubs/spices, meat quality (USDA choice grade), hardwood (post-oak), and smoking temperature (250-275F), you can achieve similar results with a chuck roast.
The key is to look for a chuck roast with a USDA grade of choice or higher, as it will have less marbling compared to prime grade but is still better than select/non-graded chuck roast. This choice grade offers a great price to quality ratio, just like brisket. When purchasing a chuck roast, it usually comes in an over-wrap meat tray which can be discarded before preparing the meat.
To season the chuck roast, simply use kosher salt, pepper, and Lawry’s seasoned salt. These three ingredients provide a simple yet flavorful seasoning that complements the beef without overpowering it. The amount of each seasoning may vary based on the size of your chuck roast; aim to cover all surfaces including the edges. After seasoning, refrigerate the meat to dry-brine it.
What to Look for in Chuck Roast?
When selecting a chuck roast, it is important to look for a USDA grade of choice or higher. Choice grade beef will have less marbling or intramuscular fat dispersed throughout the lean meat than Prime, but it is significantly better than select/non-graded chuck roast. This choice grade offers a great price to quality ratio, similar to brisket.
Additionally, consider the weight of the chuck roast. The size of the chuck roast will vary, but a 2.27 lb chuck roast can feed a family of four adequately. If you are serving bigger eaters or want leftovers, you may need a larger chuck roast.
When purchasing from the grocery store, the chuck roast will likely come in an over-wrap meat tray. Open the tray with a knife and discard it in the trash. It is not necessary to rinse the meat as it could contaminate surfaces. There’s no need to trim or remove any fat from the chuck roast; just leave it as it was purchased.
How to Prepare Chuck Roast
To prepare a chuck roast, start by selecting a USDA choice grade or higher chuck roast from the grocery store. Avoid rinsing the meat to prevent contamination of surfaces and utensils. There is no need for trimming or removing any fat from the chuck roast; simply leave it as it is.
For seasoning, use a combination of kosher salt, pepper, and Lawry’s seasoned salt. This simple blend allows the flavor of the beef to shine without overpowering it. The amount of seasoning needed will depend on the size of the chuck roast, but make sure to cover all surfaces, including the edges.
After seasoning, place the chuck roast in the refrigerator for dry-brining. This process involves allowing the salt to pull moisture out of the meat. While waiting for the chuck roast to come up to temperature, prepare your smoker or grill by getting it up to 250°F using post-oak or a similar hardwood for smoking.
Smoked Chuck Roast Recipe
This smoked chuck roast recipe is a great alternative to expensive and time-consuming brisket. By following the same strategy as smoking brisket, using the same rubs/spices, meat quality, hardwood, and temperature, you can achieve delicious results with a chuck roast. Look for a USDA grade of choice or higher for the best quality.
When preparing the chuck roast, there’s no need to rinse or pat dry the meat. Simply season it with kosher salt, pepper, and Lawry’s seasoned salt. These simple seasonings complement the meat without overpowering it. The amount of seasoning will vary based on the size of your chuck roast.
To smoke the chuck roast, maintain a temperature of 250-275F with post-oak or a similar variety of hardwood. Post-oak provides a great balance of smoky flavor without being overpowering. Smoke the chuck roast in the indirect zone of your grill or smoker for about 3 hours unwrapped, and then wrap it in aluminum foil for an additional 2 1/2 hours to accelerate cooking.
Setting up Your Smoker
To set up your smoker for smoking a chuck roast, start by getting the smoker up to temperature. Use post-oak or a similar hardwood to add flavor to the meat. If you want less smoky flavor, fruit woods are a great option, while nut woods will give you a stronger smoky flavor.
If you’re using a Weber Kettle grill or a similar charcoal grill, start with 12-15 lit coals and bank them off to one side. Fill the rest of the charcoal basket with unlit charcoal. The lit coals will ignite the unlit ones over time. Alternatively, you can use a charcoal arrangement like the charcoal snake method.
Once the fire is started and the smoker is up in temperature (around 250F), adjust the vents on your grill accordingly. Close the exhaust damper halfway and close the intake damper so that it’s about 1/4 open. Adding a water pan can help stabilize temperatures if desired.
Putting the Chuck Roast on the Smoker

To start preparing the chuck roast for smoking, remove it from the over-wrap tray and place it on a cutting board. There is no need to rinse the meat as it is already dry due to how it’s packaged. You can skip steps like using butcher twine to hold the meat together or trimming any fat, as these are not necessary. Keep the chuck roast in its original form.
When it comes to seasoning, you can keep it simple by using kosher salt, pepper, and Lawry’s seasoned salt. These three ingredients compliment the meat without overpowering its natural flavor. The amount of each seasoning will depend on the size of your chuck roast – make sure all surfaces, including the edges, are covered with seasoning. After seasoning, place the chuck roast in your fridge to dry-brine for a period of time.
Prepare your smoker by getting it up to temperature at around 250°F with post-oak or a similar hardwood. Post-oak provides a good balance of smokiness without overwhelming the meat. Once your smoker is ready, place the chuck roast in the indirect zone away from direct heat. Add wood chunks every hour for three hours to enhance smokiness.
Wrapping the Poor Man’s Brisket
After smoking the chuck roast for three hours, it is time to wrap it in aluminum foil. This will help to speed up the cooking process and ensure that the meat stays moist and tender. I recommend using two layers of foil to create a tight seal around the roast.
Some recipes suggest adding beef broth to the wrap for extra flavor, but I find that this is not necessary. The fat from the chuck roast will render and create enough moisture on its own. Plus, using a USDA choice-grade or higher chuck roast ensures that there is plenty of natural beef flavor.
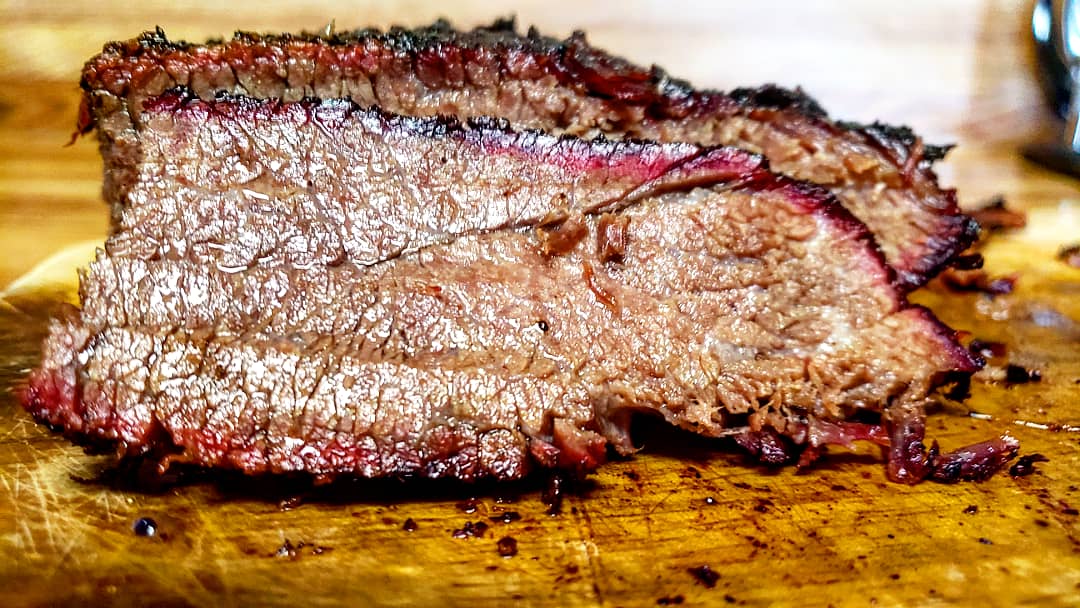
The internal temperature of the chuck roast should be between 195F to 205F when it is done. You can use a probe thermometer to check for tenderness – if it feels like it’s sliding through hot butter, then the meat is ready. As a beginner, aiming for an internal temperature of 203F is a good starting point.
When to Take the Chuck Roast Off the Smoker
The chuck roast should be taken off the smoker when it reaches an internal temperature of 203F. This is considered a good stopping point for beginners, but more experienced smokers may prefer to cook it until the probe feels like it’s sliding through hot butter. The overall time on the smoker will vary, but it typically takes around 3 hours unwrapped and 2 1/2 hours wrapped.
After taking the chuck roast off the smoker, it should be wrapped in aluminum foil and allowed to rest for at least 30 minutes. Unlike brisket, which requires a longer resting time, chuck roast can be rested for a shorter period. If the internal temperature has settled to 165F during this time, you can proceed with slicing.
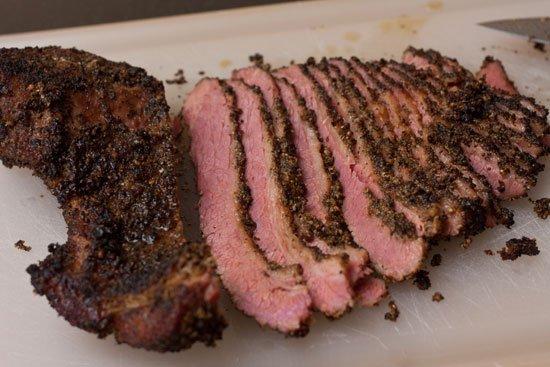
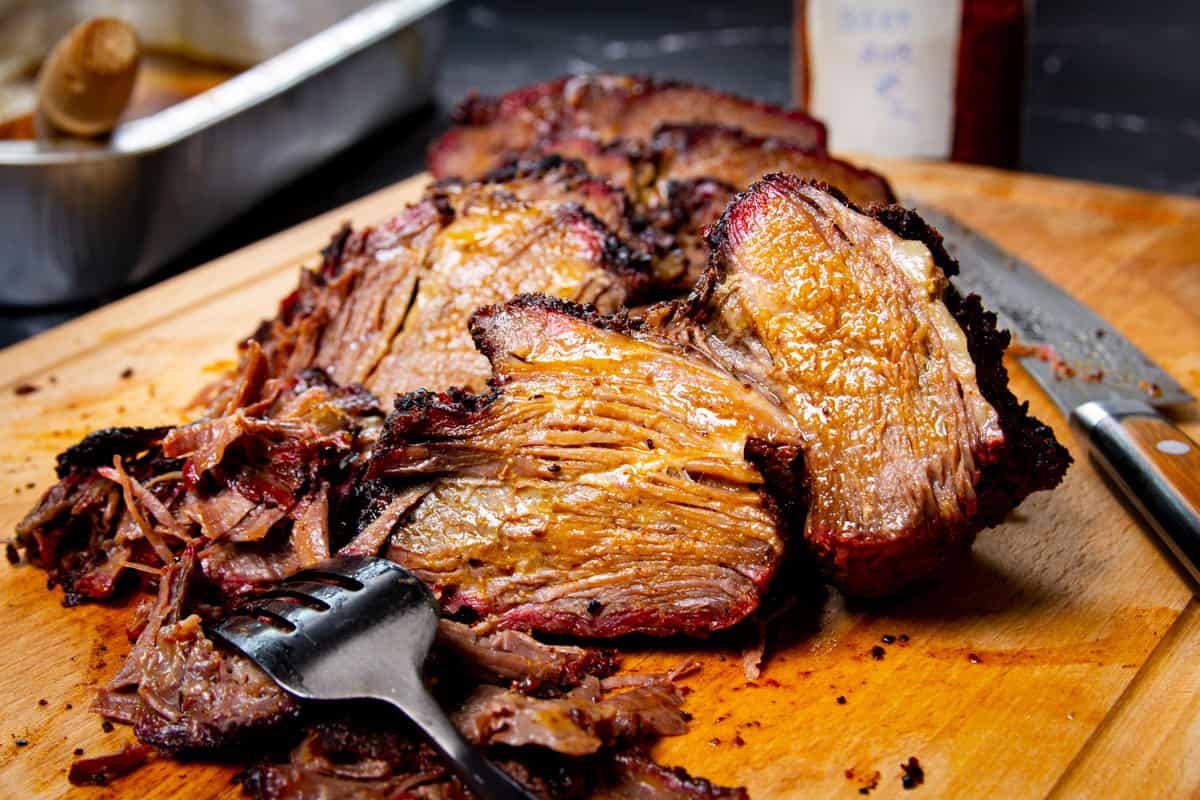
When slicing the chuck roast, it’s important to consider its grain structure. While some recipes suggest making an indicator cut before slicing, this may not be necessary for such a small cut of meat like chuck roast. If you accidentally slice with the grain on your first cut, simply change the orientation of the meat and slice in the correct direction. Determining the grain direction of chuck roast can be challenging, but referring to a picture or guide can help ensure proper slicing.
Resting the Chuck Roast
After taking the chuck roast off the smoker, it is recommended to let it rest for about 30 minutes. This allows the temperature to come down and for the juices to redistribute throughout the meat. Resting also helps to make the meat more tender and juicy when sliced.
When it comes time to slice the chuck roast, it is important to pay attention to the grain structure of the meat. The grain direction can be somewhat hard to determine in a chuck roast, but you can compare your slices with a picture or guide for reference. It is generally best to slice against the grain for maximum tenderness.
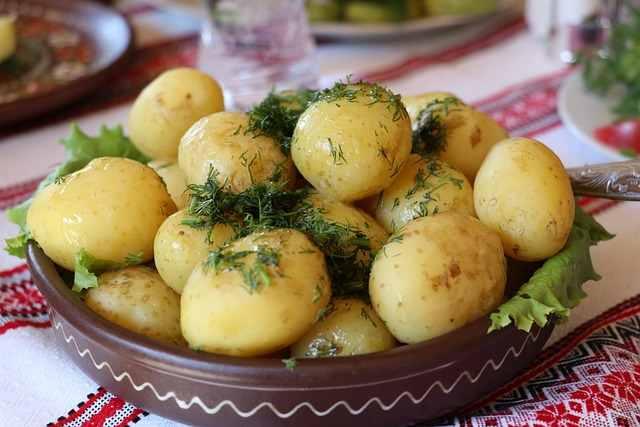
Once sliced, you can serve the smoked chuck roast as desired. It works well as a main dish alongside sides such as roasted vegetables or mashed potatoes. Leftovers can also be used in sandwiches or other recipes that call for shredded beef.
Slicing the Chuck Roast
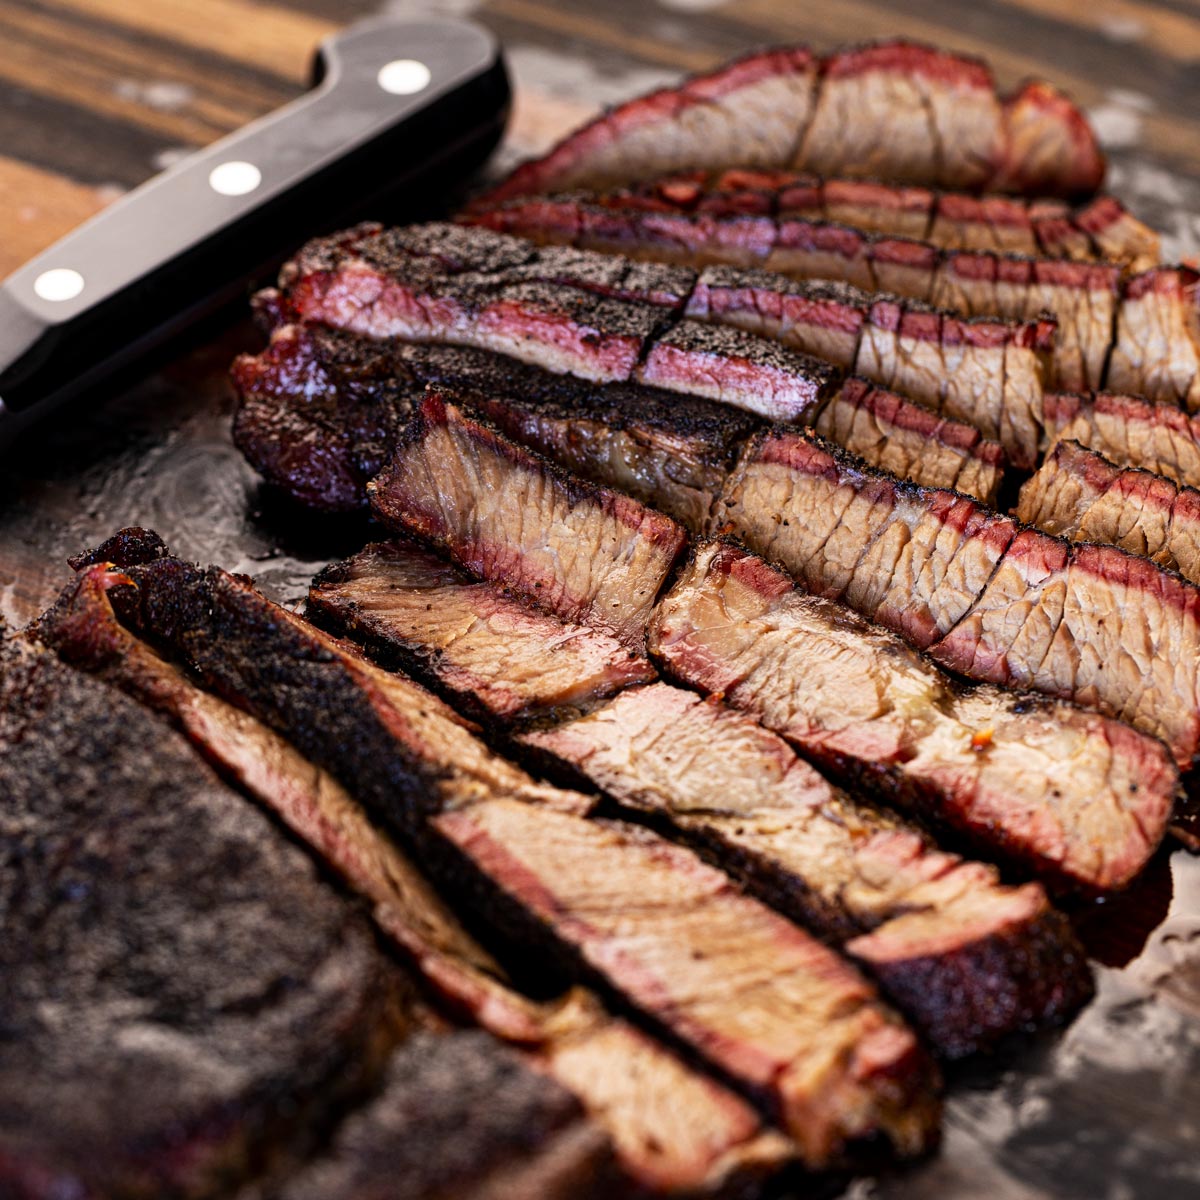
When it comes to slicing the chuck roast, there are a few things to keep in mind. First, you want to make sure you’re slicing against the grain. This will ensure that the meat is tender and easy to chew. To determine the direction of the grain, you can use a picture of a rump roast cut both ways for comparison.
It’s also important to note that chuck roast has less meat compared to brisket, so you’ll have fewer slices. However, this shouldn’t be an issue as long as you slice your meat carefully and make each slice count. If you accidentally slice with the grain on your first cut, don’t worry – just change the orientation of the meat and slice in the correct direction for tender, flavorful pieces.
Is the “Poor Man’s Brisket” Better than Brisket?
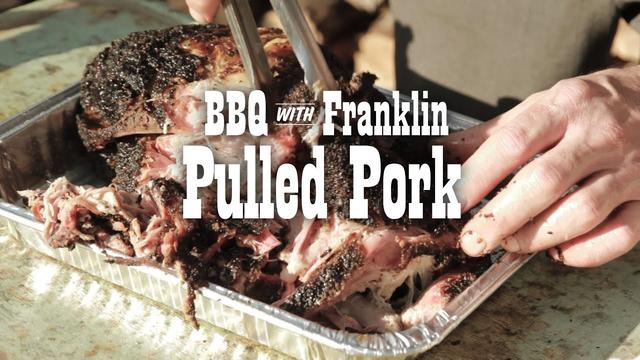
The “Poor Man’s Brisket,” also known as a smoked chuck roast, is a popular alternative to brisket for those who want a similar flavor and texture without the high cost and time commitment. While both cuts of meat can be delicious when prepared correctly, the chuck roast offers some advantages over brisket.
Firstly, the smoked chuck roast is more affordable than brisket. Brisket can be quite expensive, especially when purchasing larger cuts for feeding a crowd. In contrast, a chuck roast is typically more budget-friendly while still providing excellent flavor and tenderness.
Secondly, smoking a chuck roast takes less time than smoking a brisket. Brisket can take many hours to smoke properly, often requiring an early morning start. On the other hand, a chuck roast will cook faster due to its smaller size, making it a great option for those who don’t want to spend all day tending to their smoker.
Equipment
To smoke a chuck roast, you will need the following equipment:
- A smoker or grill: The author recommends using a Weber Kettle, but any smoker or charcoal grill will work.
- Charcoal and wood chunks: Use charcoal to fuel the fire and wood chunks for added smoky flavor. Post-oak is recommended, but fruit woods or nut woods can also be used.
- A cutting board and knife: These are needed to prepare the chuck roast for smoking.
- Aluminum foil: This is used to wrap the chuck roast during the cooking process.
- A baking sheet: This is used to hold the wrapped chuck roast while it rests in the oven.
- A meat thermometer: This is necessary to ensure that the chuck roast reaches the desired internal temperature.
Ingredients
– Chuck roast (2.27 lbs)
– Kosher salt
– Black pepper
– Lawry’s seasoned salt
Dry Rub
In this recipe, the author recommends using a simple dry rub consisting of kosher salt, pepper, and Lawry’s seasoned salt. These three ingredients are readily available and complement the meat without overpowering its natural flavor. The amount of each seasoning used will depend on the size of the chuck roast, but the goal is to have all surfaces of the meat covered, including the edges.
To smoke the chuck roast, the author suggests using a Weber Kettle grill or smoker. They start by getting the smoker up to temperature at around 250°F with post-oak or a similar hardwood. Fruit woods can be used for a milder smoky flavor, while nut woods provide a stronger smoky taste. The chuck roast is placed in the cool zone opposite of the fire to cook indirectly.
After about three hours of smoking, the chuck roast can be wrapped in two layers of aluminum foil to speed up cooking and prevent it from drying out. Adding beef broth is not necessary as the fat rendering from the meat provides enough moisture. The chuck roast is considered done when it reaches an internal temperature between 195°F and 205°F or when a probe easily slides through it like hot butter. After taking it off the smoker, allow it to rest for about 30 minutes before slicing.
Instructions
1. Begin by preparing your chuck roast. Open the over-wrap meat tray and place the chuck roast on a cutting board. There is no need to rinse the meat, as it is already dry due to packaging. Do not trim or remove any fat from the meat.
2. Season the chuck roast with a simple rub of kosher salt, pepper, and Lawry’s seasoned salt. Make sure all surfaces, including the edges, are covered with the seasoning.
3. Place the seasoned chuck roast in the refrigerator to dry-brine for a period of time.
4. Prepare your smoker by getting it up to temperature at 250°F using post-oak or a similar hardwood for smoking.
5. Once the smoker is at temperature, place a large post-oak chunk over the lit coals and allow it to smolder.
6. After 30-40 minutes of smoking, remove the chuck roast from the refrigerator and place it in the cool zone of your smoker (opposite of the fire).
7. Smoke the chuck roast for 3 hours unwrapped, adding a wood chunk every hour for smokiness.
8. If desired, wrap the chuck roast in two layers of aluminum foil after 3 hours to accelerate cooking process and bypass any potential meat stall.
9. Continue smoking until the internal temperature reaches between 195°F to 205°F or until probe tenderness is achieved (probe should slide through like hot butter).
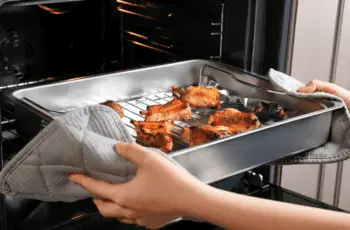
10. Once cooked, remove the chuck roast from the smoker and let it rest wrapped in foil on a baking sheet in your oven for 30 minutes.
11. After resting, slice against or with grain as desired and serve.
Smoking the Chuck Roast
To smoke the chuck roast, start by seasoning it with a rub made of kosher salt, pepper, and Lawry’s seasoned salt. Make sure to cover all surfaces of the meat, including the edges. Then, refrigerate the seasoned chuck roast to dry-brine it for added flavor.
Prepare your smoker by getting it up to temperature at 250°F. Use post-oak or a similar hardwood for smoking, as it complements the beef well without overpowering it. If you prefer less smoky flavor, fruit woods are a great option, while nut woods provide a stronger smoky taste. The Weber Kettle grill is recommended for its ease of use and temperature control.
Start by lighting 12-15 lit coals in your smoker and placing them on one side of the grill. Fill the rest of the charcoal basket with unlit charcoal, which will gradually ignite from the lit coals over time. Adjust the vents on your smoker to maintain a temperature of around 250°F.
Place a large post-oak chunk over the lit coals to create smoke. After about 30-40 minutes, place the seasoned chuck roast in the cool zone of your smoker opposite from the fire. Smoke for an hour before checking on progress and adding another wood chunk to enhance smokiness.
If you’re a beginner or want to speed up cooking time, wrap the chuck roast in two layers of aluminum foil after smoking for three hours. This will help bypass any meat stall and accelerate cooking. No additional liquid or beef broth is necessary as fat rendering from the meat provides enough moisture.
Resting the Chuck Roast
After taking the chuck roast off the smoker, it is recommended to let it rest wrapped in aluminum foil for about 30 minutes. Unlike brisket, which requires a longer resting time of around 2 hours, chuck roast can be sliced after a shorter rest. Resting allows the temperature to come down and helps the meat retain its juices for a more flavorful and tender result.
During the resting period, the internal temperature of the chuck roast will continue to rise slightly, reaching around 165F. This is an ideal temperature for slicing. Resting also allows the meat fibers to relax and distribute their juices evenly throughout the roast, ensuring a moist and delicious final product.
To rest the chuck roast, simply place it on a baking sheet or cutting board and cover it loosely with aluminum foil. This will help keep the heat in while allowing excess steam to escape. After 30 minutes, you can proceed with slicing the meat against or with the grain, depending on your preference.
Remember that resting is an important step in cooking any type of meat as it helps improve texture and flavor. So be patient and resist the temptation to slice into your perfectly smoked chuck roast right away!
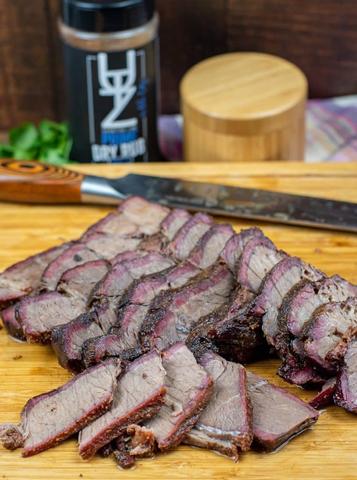
Slicing the Chuck Roast
When it comes to slicing the chuck roast, there are a few things to keep in mind. First, unlike brisket, chuck roast is a smaller cut of meat, so you don’t have to worry as much about slicing against the grain. Even if you accidentally slice with the grain on your first cut, it’s not a big deal. Simply change the orientation of the meat and continue slicing in the correct direction.
The grain direction of chuck roast can be a bit tricky to determine, but you can use a picture of a rump roast cut both ways as a helpful reference. This will give you an idea of how the slices should look and help you ensure that you’re cutting against the grain for maximum tenderness.
Remember that when slicing any type of meat, it’s important to use a sharp knife and make clean, even cuts. This will result in neat and presentable slices that are easy to serve and enjoy.
In conclusion, “poor man’s brisket” offers a budget-friendly alternative to traditional brisket. By using affordable cuts of meat and simple seasonings, this dish provides a flavorful and satisfying option for those on a tight budget. With a little creativity and patience, anyone can enjoy the deliciousness of brisket without breaking the bank.
Learn More About Grilling
If you want to learn more about grilling, check out these other helpful resources!